
The Polishing Stainless Steel for a Perfect Shine

Polishing stainless steel restores its shine and boosts its corrosion resistance, making it essential for both home items and industrial parts. A simple, step-by-step method can turn a dull, scratched surface into a brilliant, mirror-like finish. This guide breaks down the best ways to polish stainless steel, using easy words and clear steps to help anyone get professional results.

Why Polish Stainless Steel?

Polishing does more than just make stainless steel look good. It is a process that smooths the surface, removes small scratches, and even helps the material last longer by improving its ability to resist rust and stains. Whether it’s a kitchen sink, a car part, or a piece of medical equipment, a good polish keeps it looking new and working well.

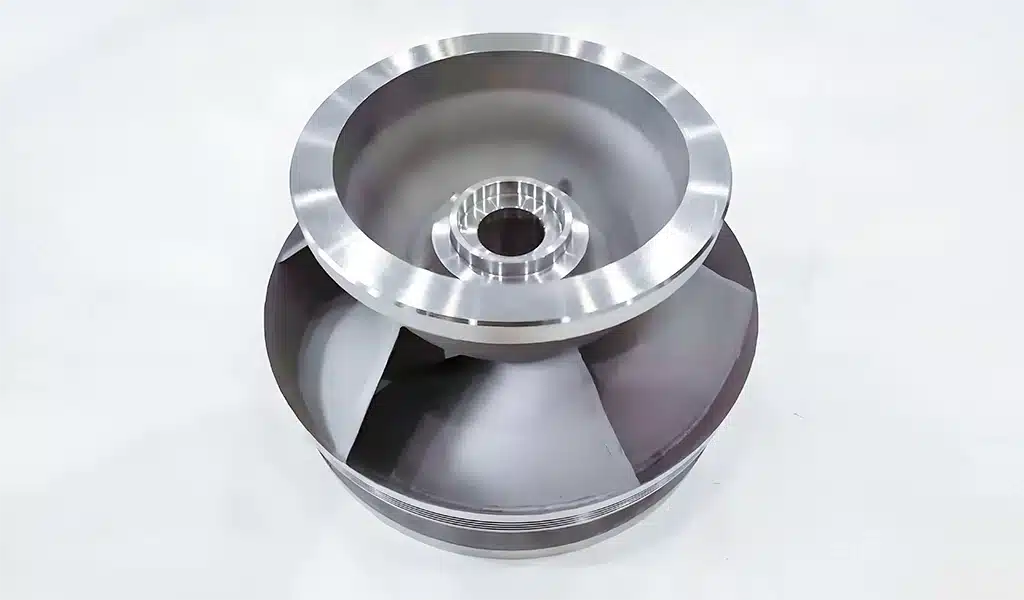
zone3Dplus-Polishing Stainless Steel

Different Ways to Polish

Before you start, it’s important to pick the right method for your project. Here are the main ways to polish stainless steel:

  • Hand Polishing: This is done by hand using sandpaper, special cloths, and polishing paste. It is best for small areas, detailed work, or quick fixes.
  • Machine Polishing: This uses electric tools like buffers or grinders with soft pads. It is much faster and gives even results on large, flat surfaces.
  • Electrochemical Polishing (ECP): This method uses an electric current and a special liquid to smooth the surface. It is very precise and often used for medical tools and airplane parts because it makes the steel very resistant to rust.
  • Chemical Polishing: This involves using strong acidic solutions to dissolve a thin layer of the surface, making it smoother. It works well for complex shapes but requires careful safety steps.

For most do-it-yourself projects at home, hand polishing or machine polishing are the most practical and common choices.

Your Step-by-Step Polish Guide

Follow these four key steps to transform your stainless steel from dull to dazzling.

Step 1: Clean the Surface Thoroughly

First, you must have a perfectly clean surface. Any dirt or grease left behind can get ground into the steel during polishing and cause new scratches.

  • Gather Supplies: Use a mild dish soap, white vinegar, or a dedicated stainless steel cleaner. You will also need soft microfiber cloths and non-abrasive sponges.
  • Wash and Dry: Clean the area with soapy water to remove grease and fingerprints. For hard water spots, wipe with a mix of equal parts white vinegar and water. Always dry the surface completely with a lint-free cloth to prevent new streaks.
  • Fix Minor Flaws: For light scratches, make a paste from baking soda and water and rub it gently along the metal’s grain. Then, rinse and dry.

Step 2: Sand Out Scratches (If Needed)

For surfaces with deeper scratches or dents, you need to sand them level before you can polish.

  • Start Coarse: Use a low-grit sandpaper (like 120 or 220 grit). Always sand in the same direction as the metal’s grain to avoid creating cross-hatch scratches.
  • Check Your Work: Wipe the area with a damp cloth often to see if the scratch is gone. Keep sanding until the surface feels even.

Step 3: Smooth with Finer Grit

Next, you need to make the sanded area smooth so it can be polished to a shine.

  • Move to Medium Grit: Switch to a finer sandpaper, between 400 and 600 grit. Keep the surface a little wet with water to reduce dust and help the paper glide.
  • Finish with Fine Grit: Finally, use a very fine sandpaper (800 to 1200 grit). This will create a uniform, smooth, matte surface that is ready for buffing.
  • Final Clean-Up: Wipe the entire area with isopropyl alcohol to remove all sanding dust. The surface should be completely clean and dry before the next step.

Step 4: Buff to a Brilliant Shine

This is the step that creates the shine. You will use a polishing compound and a buffing pad.

Choose Your Compound: Polishing compounds have abrasives that do the shining work.

  • For removing moderate scratches, use a medium compound (around 400-800 grit).
  • For the final, high-gloss shine, use a fine compound (1000+ grit), like white rouge or diamond paste.

Apply and Buff:

  • By Hand: Put a small amount of compound on a soft, clean cloth. Rub firmly in small circles, then go with the grain to finish.
  • With a Machine: Apply the compound to the buffing pad. Gently guide the machine over the surface, moving steadily to avoid overheating one spot. Overheating can damage the steel.

Pro Tips and Problem Solving

Even with the right steps, you might run into some common issues. Here’s how to fix them:

  • Swirl Marks or Light Scratches: This often happens if you skip grits while sanding. Go back to the previous, finer sanding step to remove them. Always follow the grit progression in order.
  • Discoloration or Rainbow Hues: This is caused by too much heat from the buffing machine. To fix it, use a lower speed on your tool, apply less pressure, and keep the buffer moving. You can sand out the discoloration and repolish the area.
  • Hazy or Uneven Shine: This is usually from leftover polishing compound. After you finish buffing, clean the surface well with isopropyl alcohol and a clean cloth.
  • Achieving a Brushed or Matte Look: Not every project needs a mirror shine. For a popular brushed look, sand the surface in one direction only with a medium-grit sandpaper (180-320) or a Scotch-Brite pad.

Keeping Your Polish Perfect

After all your hard work, protect the finish with simple care.

  • Clean Regularly: Wipe the surface weekly with a damp microfiber cloth and a mild detergent. Dry it to prevent water spots.
  • Use the Right Tools: Never use steel wool or harsh, abrasive cleaners, as they will scratch the polish.
  • Protect the Surface: For long-term care, you can use a commercial stainless steel protectant spray every few months to shield against fingerprints and oxidation.

Final Thoughts

Polishing stainless steel is a straightforward process that rewards patience. By cleaning well, sanding in stages, and buffing with the right compound, you can achieve a stunning, professional-quality finish that protects your items for years to come. For large or complex projects, consider reaching out to professional metal finishing services for the best results.

Scroll to Top