Figuring out the cost of 3D printing can be tricky. Why? Because there’s no single price. The final cost changes based on many things, like whether you print yourself or hire a service, the materials you pick, and how complex your design is.
This guide will break down the costs for both do-it-yourself and professional printing. Plus, we’ll share smart tips to help you save money. Let’s get started!
Part 1: The Cost of Printing Yourself (In-House)
Printing at home or in your office can be fun and cost-effective. But first, you need to look at all the expenses, not just the price of the printer.
Here’s a simple breakdown of what you’ll pay for:
1. Buying the 3D Printer
First, you need a machine. Prices change a lot based on the type:
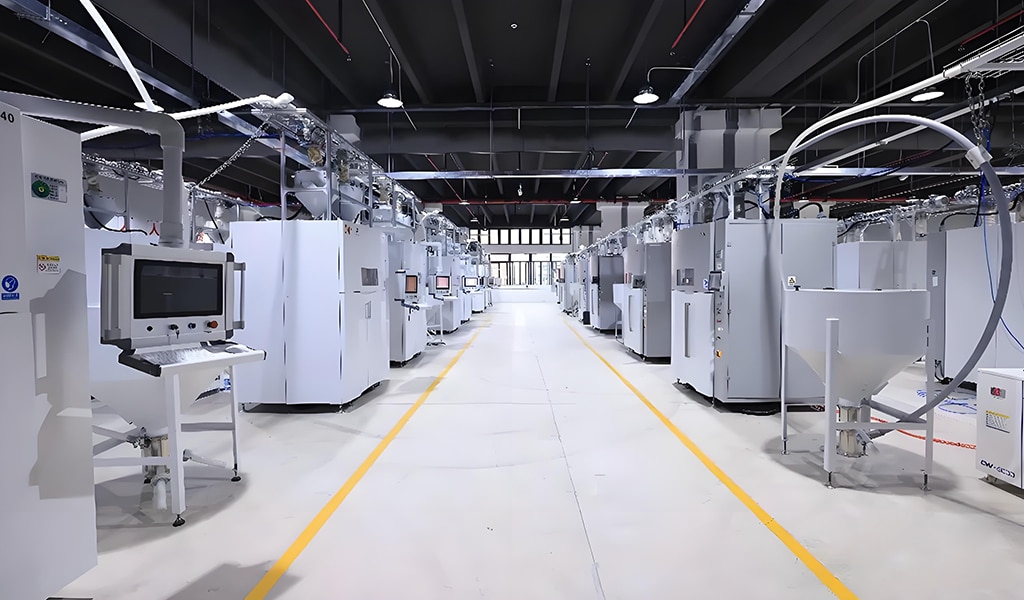
- Industrial Printers: These are for big, high-quality jobs and can use advanced materials like metal. They are very expensive, often costing from $20,000 to over $1 million.
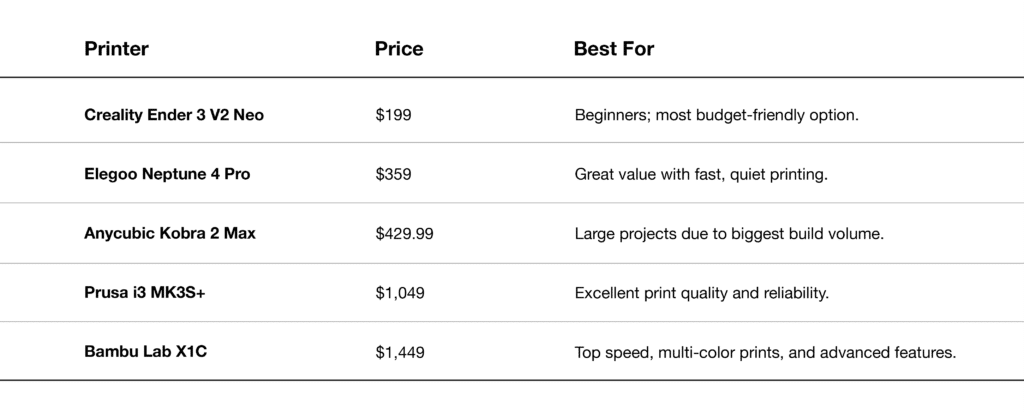
- Desktop Printers: These are popular for beginners, small businesses, and hobbyists. They usually use FDM technology and are much more affordable, ranging from $200 to $5,000.
To help you choose, here’s a quick comparison of popular desktop printers:
2. Material Costs (Filament)
This is your regular, ongoing cost. Filament comes in spools, and the price depends on the type:
- PLA: Easiest to use. Costs $20-$30 per kilogram.
- ABS: Strong and durable. Costs $25-$35 per kilogram.
- PETG: Strong and easy to print. Costs $30-$40 per kilogram.
- ASA: Great for outdoor parts. Costs about the same as ABS.
3. Electricity Costs
Good news – 3D printers don’t use a huge amount of power. Most desktop models use 50-150 watts per hour.
- Average Cost: About $0.005 to $0.015 per hour.
- Example: A 12-hour print might only add $0.15 to your electricity bill.
4. Maintenance and Repairs
Printers need care to work well. You should plan for:
- Routine Care: Cleaning the bed and oiling moving parts.
- Replacement Parts: Nozzles wear out and cost $5-$40 to replace. Belts or fans might also need changing over time.
5. Your Time (Labor)
Even though printing is automatic, your time is still valuable.
- Tasks include: Preparing the digital file, starting the print, checking on it, and cleaning up the finished piece (like sanding or removing supports).
6. Long-Term Printer Cost
Think about the printer’s price spread over its life. For example, if a $350 printer lasts for 3,000 hours of printing, that adds about $0.12 per hour to your cost.
Real Cost Example: Printing a Phone Stand
Let’s see the cost to print a common item, a foldable phone stand (using about 100g of PLA):
- Printer Use (6 hours): $0.60
- Material (PLA): $1.50
- Electricity: $0.12
- Your Time (45 min at $10/hr): $7.50
- Total Estimated Cost: $9.72
This shows how your own time can be the biggest cost! For a simpler look, you can use an online 3D printing cost calculator.
Part 2: The Cost of Professional 3D Printing (Outsourcing)
Don’t want the hassle of owning a printer? Professional services like zone3Dplus are a perfect solution. They handle everything, from high-end machines to expert finishing.
When you get a quote from a pro service, the price usually includes everything bundled together. Here’s how they calculate it:
Total Cost = Printing Cost + Post-Processing + Packaging + Shipping
1. The Printing Cost
This is the main part of the price. It’s based on:
- Material Used: What your part is made of (plastic, resin, metal).
- Part Weight: How big and dense your model is.
Example from zone3Dplus:
- Material: Strong Nylon (PA12)
- Price: $0.25 per gram
- Part Weight: 200 grams
- Printing Cost = $0.25 x 200g = $50.00
Why Choose zone3Dplus?
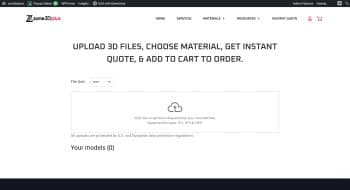
Getting a quote is fast and easy with zone3Dplus. Simply upload your design file on their website. Their system instantly analyzes it, calculates the weight and material needed, and gives you a clear price within seconds. They offer a wide range of materials and technologies to fit your project’s exact needs and budget.
2. Post-Processing Costs
This is the extra work done after printing to make your part look and work better.
- Examples: Smoothing the surface, removing supports, sanding, painting, or special treatments to make it stronger.
- Good to Know: Services like zone3Dplus are experts in this. They can give you advice on the best finish for your part, often saving you time and money compared to doing it yourself.
3. Packaging & Shipping Fees
Finally, the company will safely pack your order and ship it to you. Shipping costs depend on your location and how fast you need it.
Conclusion & How to Save Money
In short, 3D printing costs depend on your choice:
- Print Yourself: Lower per-item costs, but higher upfront investment and time commitment.
- Outsource (e.g., zone3Dplus): Higher per-item cost, but no printer costs, less hassle, and professional quality.
Quick Tips to Save:
- For DIY Printing: Optimize your designs to use less material. Use lower infill settings for non-critical parts.
- When Outsourcing: Always get a few quotes. Provide clean, error-free design files to avoid extra preparation fees. For your next professional project, get an instant, hassle-free quote from zone3Dplus today and see how affordable quality 3D printing can be!
Multi Material 3D Printing: Reduce Waste Effectively
If you are researching a tool changer 3D printer, you are probably trying to solve one of two problems: printing...
Multi Material 3D Printing: How to Choose the Right Process for Functional Parts
Multi material 3D printing is changing how teams build prototypes and end-use parts. Instead of treating a printed part as...
Multi Color 3D Printer vs Full-Color 3D Printing Service: Which Is Better for Your Project?
A multi color 3D printer is one of the most searched topics in consumer and professional 3D printing right now....