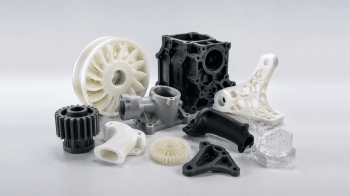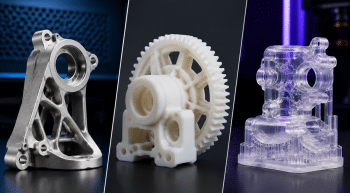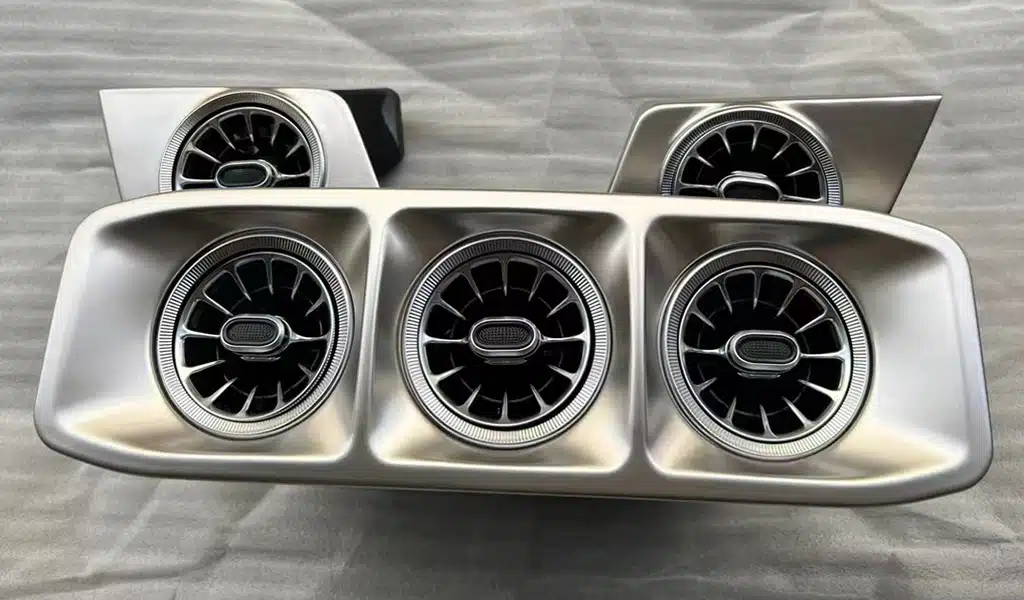
What happens when two powerful technologies join forces? 3D printing creates complex shapes layer by layer. Vacuum casting uses silicone molds and liquid materials under vacuum to produce flawless copies. Together, they form a game-changing process for prototypes, custom parts, and small-batch production—faster, cheaper, and with incredible detail.
And if you’re looking for a reliable partner, zone3Dplus offers professional 3D printing and vacuum casting services to help you bring your ideas to life—fast.
Why 3D Printing + Vacuum Casting Works So Well
Speed Up Your Workflow
Forget waiting weeks for machined patterns. With zone3Dplus, your master pattern can be 3D printed in hours. Once ready, it’s used to create a silicone mold for vacuum casting. Even intricate designs aren’t a problem. 3D printing easily handles details that traditional methods can’t touch.
Cut Costs Without Sacrificing Quality
There’s no need for costly metal tooling. 3D printing slashes the expense of pattern making, while vacuum casting uses affordable silicone molds to produce 10–30 high-quality copies per mold. It’s the perfect setup for testing your design before investing in expensive mass production.
Capture Every Tiny Detail
Vacuum casting pulls liquid resin into every corner of the mold. Pair that with ultra-smooth 3D printed masters (post-polished by zone3Dplus experts), and you’ll get flawless parts—bubble-free and rich in detail.
Material Options: Not Just Plastics
Vacuum casting can go far beyond basic plastics. With a high-quality 3D printed master from zone3Dplus, you can cast in:
- Engineering Resins – Tough like ABS, flexible like rubber, or clear like glass.
- Simulated Polypropylene – Great for snap-fit parts and living hinges.
- High-Temp & Chemical-Resistant Resins – Perfect for automotive or medical applications.
- Soft Silicones & Urethanes – Ideal for grips, seals, or medical devices.
Use specialty 3D printing materials like PolyCast. Designed for burnout-free casting, it leaves almost no ash (<0.003%), ensuring cleaner molds and superior final part quality. zone3Dplus offers material selection advice to match your project’s needs.
Your Step-by-Step Guide with zone3Dplus
1. Print Your Master
- Orient your model to reduce support marks.
- Use low infill (10%) and thin walls (2–3 shells) for easier post-processing.
- Apply “shrinkage compensation” (scale up by 1.007–1.030x) since materials shrink as they cure.
2. Smooth Like Glass
- Light sanding with 800-grit paper.
- Spray polish or dip in isopropyl alcohol (IPA). Dry for 30 minutes and repeat as needed.
- For ultra-smoothness, zone3Dplus uses advanced polishing systems for a perfect surface finish.
3. Build the Mold & Cast
- Encase the polished master in liquid silicone and let it cure.
- Cut open the mold and remove the master.
- Place your casting resin in the mold and insert it into a vacuum chamber. This removes air bubbles.
- Pour resin into the cavity and cure.
- Repeat. Each silicone mold can produce 20+ high-quality copies.
Real-World Applications: Where This Duo Shines
Automotive & Aerospace
Functional parts like housings, ducting, and intake manifolds—delivered fast.
Medical
Biocompatible surgical guides and device casings without the cost of sterile tooling.
Consumer Products
Durable concept models for focus groups, ergonomic handles, and wearable tech.
Industrial
Custom seals, gaskets, and jigs delivered in days—not months.
With zone3Dplus, businesses worldwide cut lead times and costs while achieving injection-mold-quality results.
Future-Proof Your Prototyping
The combination of 3D printing and vacuum casting is getting even better:
- High-Temp 3D Printers: Build masters from advanced materials like PEEK for extreme-condition molds.
- Vacuum-Enhanced Print Beds: Keep large prints perfectly flat—no warping.
- Fine Metal Powders: Create detailed patterns for metal castings like aerospace components.
At zone3Dplus, we invest in cutting-edge 3D printing technology to ensure your parts meet the highest standards.
Why Choose zone3Dplus?
- Fast Turnaround – Go from CAD to part in 1–3 days.
- Cost Savings – Ideal for batches of 1–50 pieces.
- High Quality – Achieve injection-molding-like finishes without the high tooling cost.
- Flexibility – Change designs anytime. Just reprint the master.
- Expert Support – Our team guides you through every step.
Multi Material 3D Printing: Reduce Waste Effectively
If you are researching a tool changer 3D printer, you are probably trying to solve one of two problems: printing...
Multi Material 3D Printing: How to Choose the Right Process for Functional Parts
Multi material 3D printing is changing how teams build prototypes and end-use parts. Instead of treating a printed part as...
Multi Color 3D Printer vs Full-Color 3D Printing Service: Which Is Better for Your Project?
A multi color 3D printer is one of the most searched topics in consumer and professional 3D printing right now....